I use SiteGround for most of my personal websites. I love it because I can create unlimited sites without any additional cost.
I prefer to use git to deploy code rather than SFTP. I make my changes locally, and when I’m happy with it I push them with git push production master.
SiteGround has git support built-in, but it works a bit differently than other hosts with git push. This article by 9seeds provided a lot of guidance here.
Add a .gitignore file
By default, SiteGround will version control the entire wp-content directory: your themes, plugins, and uploads. If you prefer to only include certain themes and plugins (like I do), you’ll first want to add a .gitignore file before creating the git repository in SiteGround.
I had migrated a site to SiteGround, then clicked “Create git repository”. The repo was massive because it included 2GB of uploads. Adding the .gitignore afterwards and deleting the uploads directory wouldn’t help because the uploads are still part of the history of the repo. I fixed it by deleting the repo, adding the .gitignore file, and creating a new repo.
Here’s my sample .gitignore file. Edit it to include any themes and plugins you’d like to version control, then upload to the top level of your WordPress site.
Create the repo on SiteGround
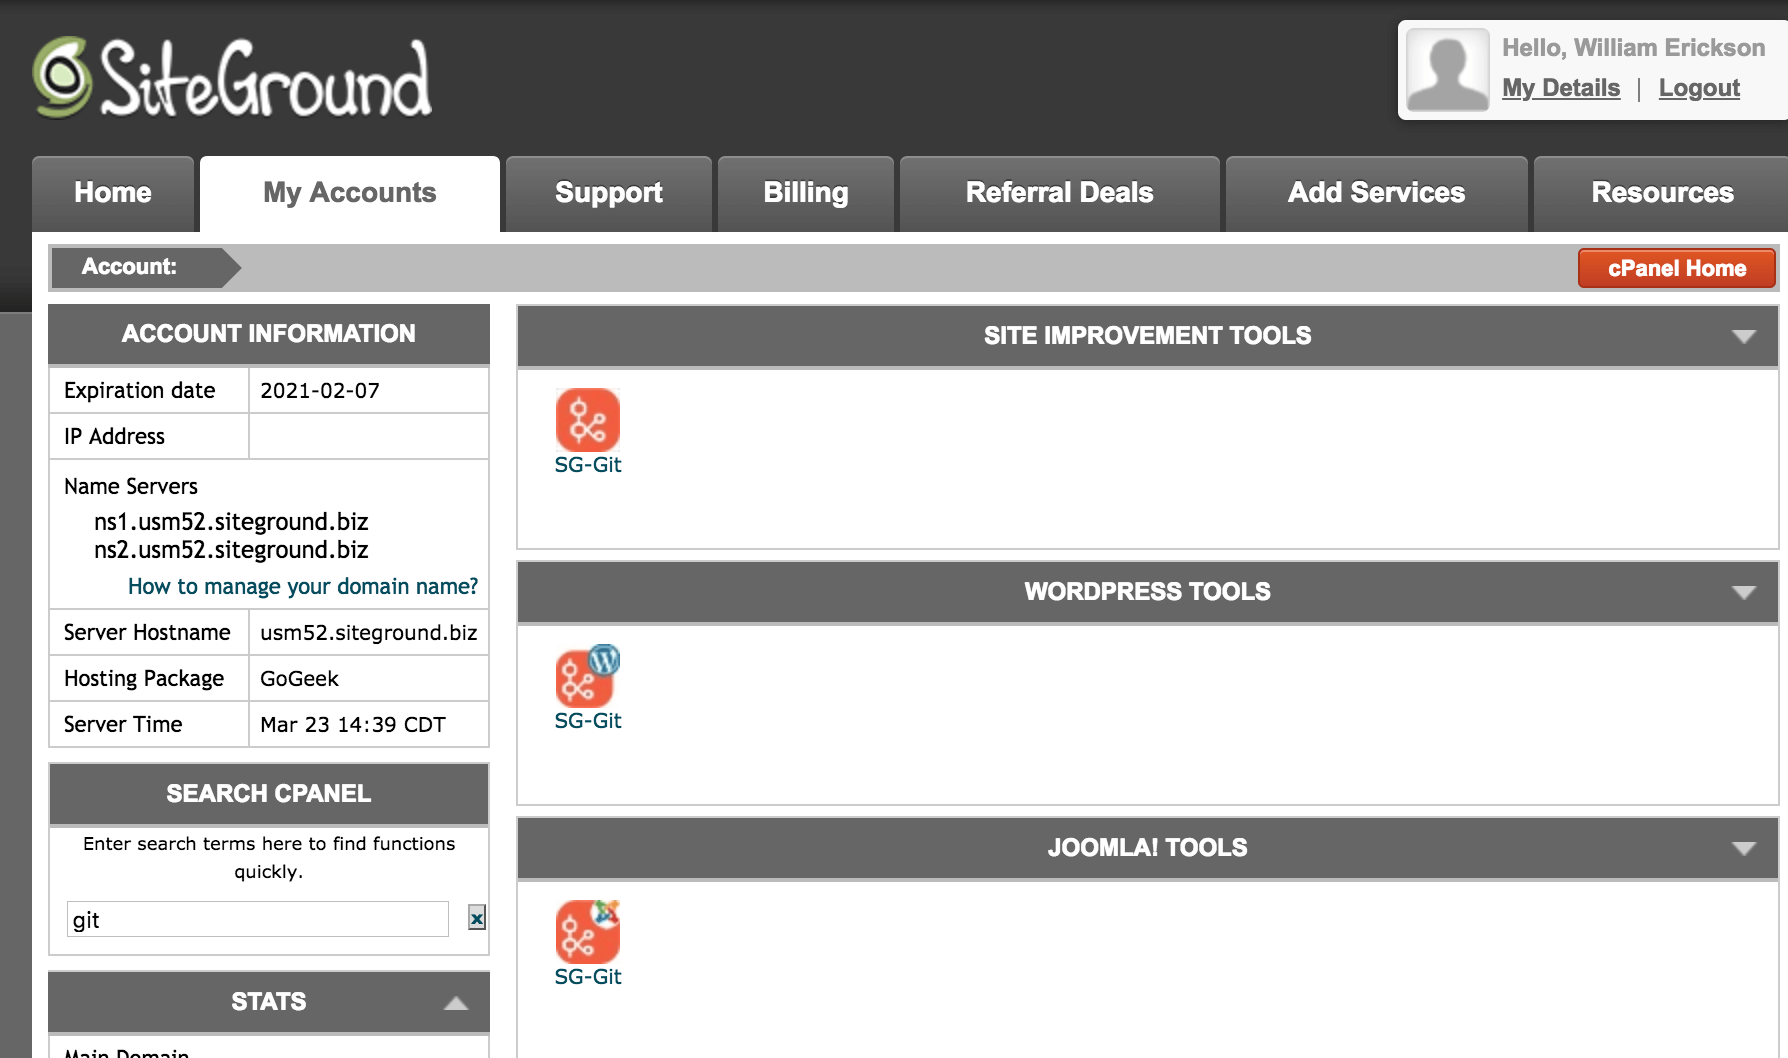
Log into SiteGround and open cPanel. Click on the “SG-Git” tool (use the search on the left to find it).
At the bottom you’ll see a list of domains that are not currently version controlled. Click the green “Create git repository” button next to the site you want.
You’ll then see a popup window containing a “git clone” command and an ssh key. You’ll only need the git clone command for what we’re doing.
Copy the git clone command and run it locally wherever you want the site to be. For instance, I have a /wpdev directory on my computer where I have most of my sites, so within that I run the git clone command. It will create a new directory using your domain name (ex: /wpdev/yoursite.com). You can rename it if you like: mv yoursite.com yoursite
Integrating GitHub
Your new local repository will have a remote named origin pointing to SiteGround. I prefer having origin point to GitHub and production point to the live site. To change this:
- Rename the remote:
git remote rename origin production - Create a private repo on GitHub. Click “Clone or download” and copy the URL given (screenshot).
- Add the remote origin:
git remote add origin {url here}
Private GitHub repos are only available for paid accounts ($7/month). Alternatively, you could use the same approach with BitBucket which offers unlimited private repos for free.
Making code changes
When you’re ready to push them to GitHub, run: git push origin master. When you’re ready to deploy your code changes to your website at SiteGround, run: git push production master. I also like to use WP Migrate DB Pro for pushing and pulling the database.
That’s it! It’s pretty simple to setup and a lot simpler than SFTP for deploying code changes. Let me know if you have any questions or additional SiteGround tips.


Bill Erickson says
Pushing to SiteGround’s git repository should update the code on the site. Usually you’ll first run
git push origin masterto update GitHub, thengit push production masterto update the live site.If it isn’t updating, maybe the file permissions are incorrect and SiteGround can’t write the files.
Chris says
Thanks for the speedy reply. Ok that’s good to know, I thought maybe I was missing a step.
Possibly – I don’t get any errors but then I’m not sure if I’ve ever hit permission errors for a git repo before. Very strange.
Peter Bohus says
Hi Bill,
finally I got project, where I can try this, but I cannot find right way, how to work with that setup. Push to origin master work perfect, but if I try to push to production master, I just got answer everything is up to date. So did I miss something?
Bill Erickson says
Given all the comments this post has received recently, my guess is SiteGround has changed something and the method described above no longer works.
Until I get a chance to re-test and rewrite this article, I recommend you use DeployHQ for code deployments to SiteGround.
Sign up for a free account, connect it to the GitHub project, and type in your SiteGround SFTP details as one of the servers. When you’re ready to deploy, log in and click the “Deploy” button.
You could set it up to auto-deploy with new updates to the repo, but the free plan is limited to 10 deployments per day so I stick with manual.
I use DeployHQ for code updates on all my client sites that aren’t using WPEngine. For the ones on WPEngine I use their git push.